Best Ways To Harvest Marijuana Indoors
If the pistils have turned amber and the trichomes are never more translucent, that is a sign that your marijuana is ready for harvesting. It is time to work on your harvesting strategy, just like you had a growth strategy for your indoor plants. Reaping is tied in with good timing: Choosing the right moment to cut your plants will improve your yields. Follow this indoor marijuana harvesting guide and you’ll enjoy the darkest, most tasteful buds you’ve ever smoked.
- Timing your harvest
There are lots of signs that your plant is approaching maturity and you’re ready to harvest, dry and cure your marijuana. Timing is crucial during harvesting because it determines the cannabinoid levels in your buds. Whatever the aim you’ve for your indoor yields (recreational or medical, subtle or strong), you may want to maximize your THC or CBD level. Harvesting too early means missing potency and yield while harvesting too late might lead to a highly sedative product. Here is a rundown of practical signs that tell you if your buds are ready for harvest:
- Flowers merge into heavy kolas, are sticky when touched, and tiny crystals appear around them.
- Ovaries are swelling up
- The smell will be intense (keep your airflow and carbon filters running now that it’s indoor growing)
- Trichomes change from clear to milky or clouded, they begin to turn amber or brown.
- Flush your indoor grows
This pre-harvesting activity helps filter out any build-up of salts or nutrient residues. Prior to harvesting, feed the plants with plain water only with absolutely no nutrients (or fertilizer if you’re using soil). Flushing before harvest will improve the quality of your buds.
- Harvesting the buds
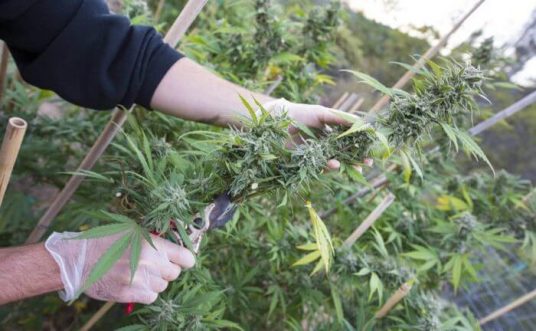
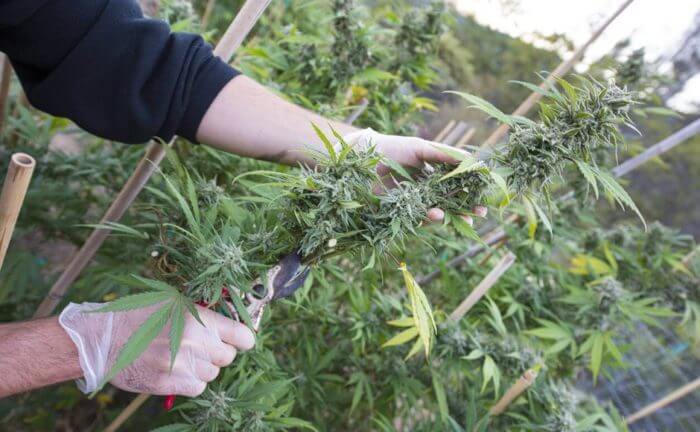
Start early in the morning, shortly before the very moment when the grow lights are turning on. Firstly, remove the larger fan leaves. Leave the tiny leaves if possible because they protect the trichomes and cause the buds to dry slowly, preserving more flavor, weight and potency. Cut your indoor plants at the base, one at a time.
- Trimming the buds
Trim your indoor harvest before the last cure. To give your buds the last manicure, use a clean, sharp pair of scissors to gently remove any remaining leaves that are shielding the buds. Sterilize the scissors after each trim for optimum safety. Keep the small trim leaves as they’re often loaded with trichomes and if you don’t want to smoke them, they make great edibles.
- Proper drying of buds
Hang each of the freshly harvested branches upside down in your drying areas- it should be dark with a good supply of clean fresh air. Provide lots of space around each individual branch. An ambient room temperature should be sufficient. Inspect your harvests regularly to find how they’re doing and turn them around so that airflow in the room gets to all parts of the buds.
A lot of indoor growers use custom-made drying cabinets or boxes- they also dry your weed in. Some simple DIY could build you a box with hangers and a throughput of fresh air. Drying can take some days or a couple of weeks usually averaging at 10 days. Don’t rush this part; it’s critical to get it right. This dried weed is smokable now, but to get the best of the flavors and potency, a final cure is critical.
- Proper curing of buds
Separate individual buds from the stems and store them in clean glass jars. Plastic tubs/bags will do, but we prefer glass. For the first week or two that the buds are in the jars, open them up twice a day and allow them to ‘breathe’ for 5 minutes. This allows for complete air exchange and removes any remaining moisture. Your buds are now ready. Different strains may cure at different rates and you may often find that, if correctly stored, your weed gets better over time. Good curing can make all the difference to your last smoke and is the finishing touch to all your hard work in the indoor growing room.
Conclusion
Harvesting weed is an easy and fun process! When grown indoors, most marijuana strains will be ready to harvest within 7-12 weeks after starting a flowering light cycle. To reap the rewards of your labor all you need is the right tools, an understanding of the visual signs and a bit of preparation so that you’re ready when the time comes, follow the above guidelines and you’ll be on point.


Comments are closed